poniedziałek, 30 stycznia 2017

#CREATIVENAILPARTY - Tydzień 3 - Zimowy Las

#CREATIVENAILPARTY - Week 3 - Winter Forest

Cześć Wam!
Mamy trzeci tydzień #CREATIVENAILPARTY i tym razem robimy zimowe lasy. Nie mogę się doczekać żeby zobaczyć co wykombinowały wszystkie neizmiernie utalentowane dziewczyny biorące udział w projekcie!

Hi there!
It's week three of #CREATIVENAILPARTY and this time we're doing winter forests. I can't wait to see what all the extremely talented girls taking part in the project came up with!


Ja zdecydowałam się na liściasty las i zrobiłam parę listkowych drzewek zamiast świerków, sosen czy innych bardziej oczywistych typów drzew zazwyczaj kojarzonych z zimą.

I decided to go for a deciduous forest and did a pare of leafy trees instead of spruces, pines and other more obvious type of trees usually associate with winter.


Aaaa! Pomyslałam także, że fajnie będzie zrobić to mani ciut ciemniejsze niż poprzednie. Mój zimowy las jest z dreszczykiem, uchwycony w środku nocy ;)

Oooh! I also thought it would be fun to make the whole manicure a little darker than the ones before. My winter forest is a spooky one, captured in the middle of the night ;)


Baza jakiej użyłam to mój ulubiony czarny lakier - My Secret Dressed In Black. Nałożyłam go dwie warstwy i poczekałam aż całkiem wyschnie zanim zaczęłam odbijać drzewa i liście (lub śnieg).

The base I used is my favourite black polish - My Secret Dressed In Black. I applied two coats and waited for them to fully dry before I started to stamp the trees and leaves (or snow).


Na palcu środkowym i śerdecznym możecie zobaczyć niesamowity wzór z płytki Uber Chic Lovely Leaves. Odbiłam go lakierem Kaleidoscope 83 Gray i Stemplem B. Loves Plates Crystal Clear. Na tym wzorze położyłam uzupełniający wzór spadających liści (w tym mani wygląda on też trochę jak śnieg) w trzech różnych kolorach. Użyłam tego samego stempla, Kaleidoscope 02 White i dwóch lakierów Colour Alike & B. Loves Plates: B. a Raindrop, B. a Rainy Mood. Dodałam trochę kropek na ziemi wokół drzewa i zrobiłam te same spadające liście/śnieg na pozostałych paznokciach, w tych samych kolorach.

On my middle and ring finger You can see the amazing tree design from Uber Chic Lovely Leaves plate. I stamped it with Kaleidoscope 83 Gray and B. Loves Plates Crystal Clear Stamper. Over this design I layered the complementary image of falling leaves (in this manicure it looks a bit like snow as well) in three different colours. I used the same stamper, Kaleidoscope 02 White and two Colour Alike & B. Loves Plates polishes: B. a Raindrop, B. a Rainy Mood. I added a bit of dots on the ground around the tree and did the same falling leaves/snow on the rest of my nails, in the same colours.


Poniżej możecie zobaczyć płytke UC..

Below You can see the UC plate..

Źródło: http://uberchicbeauty.com/

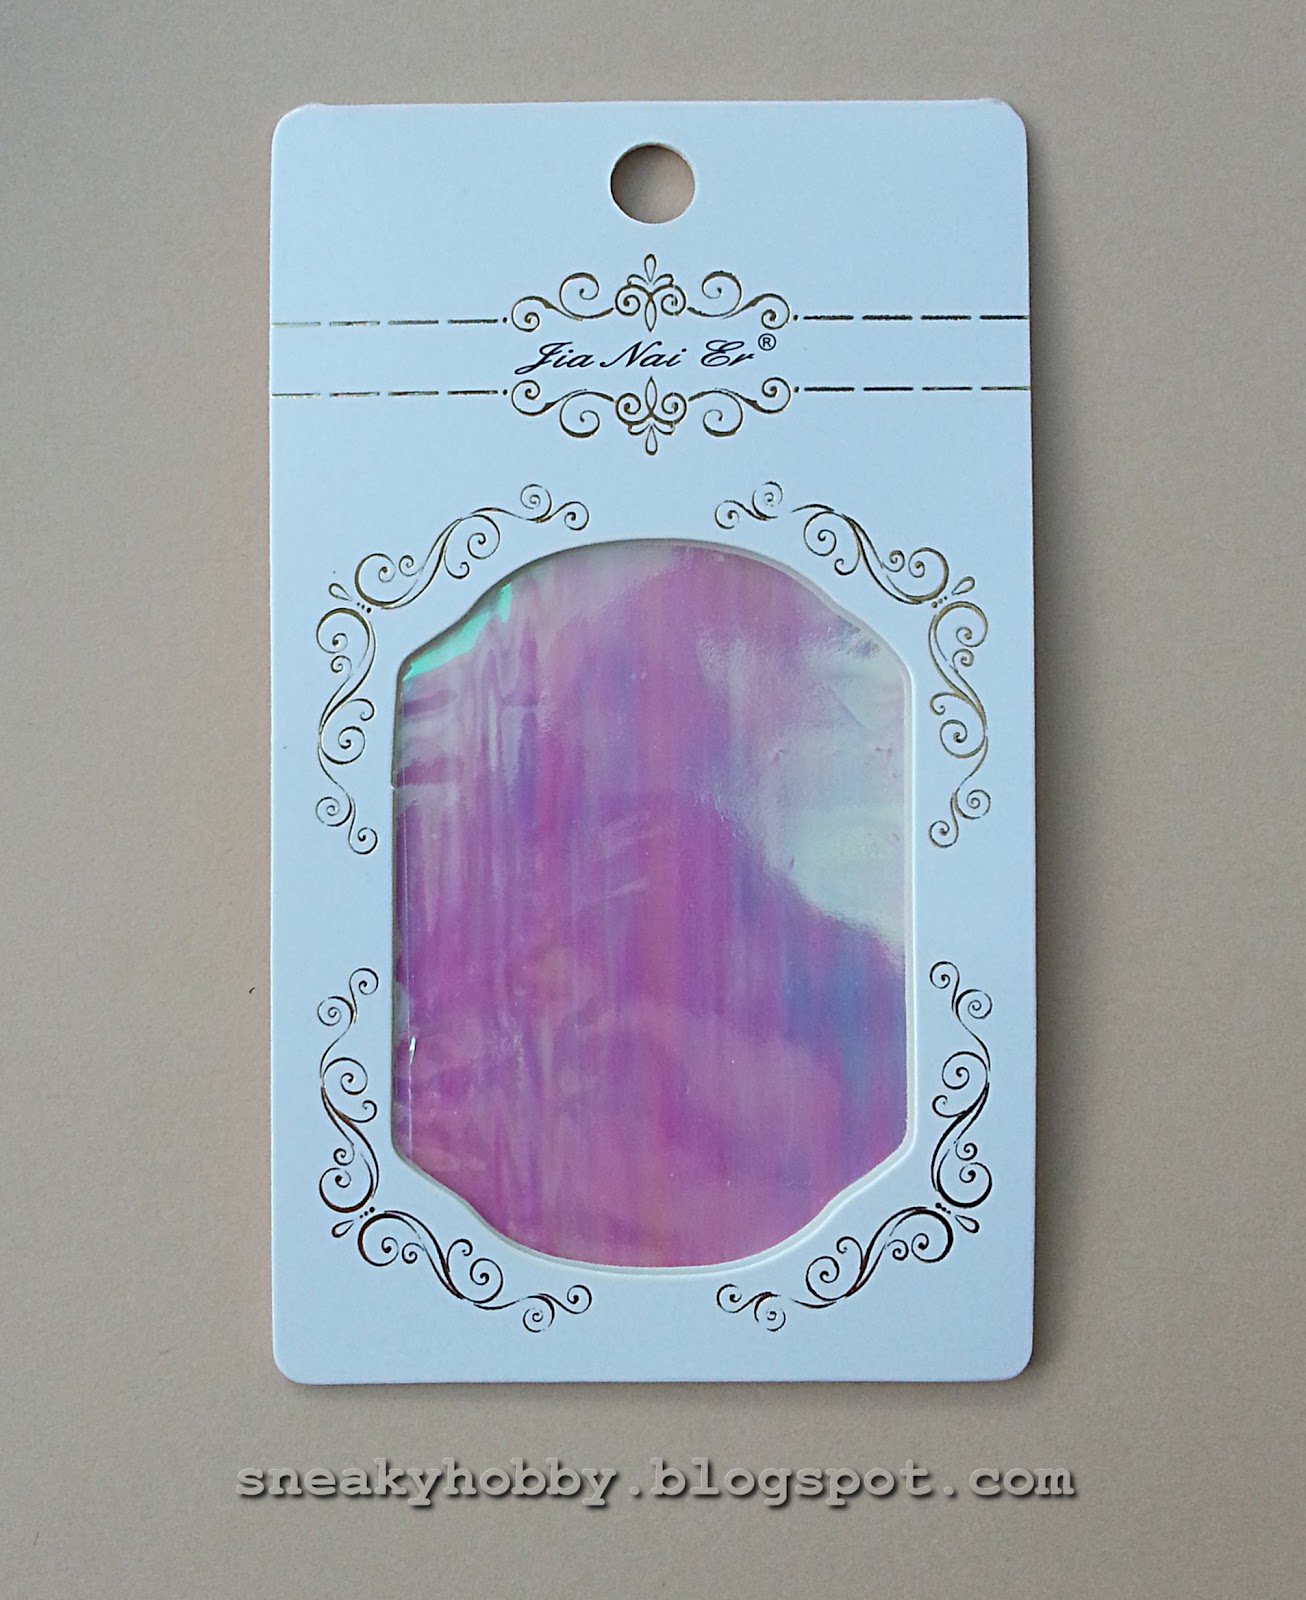
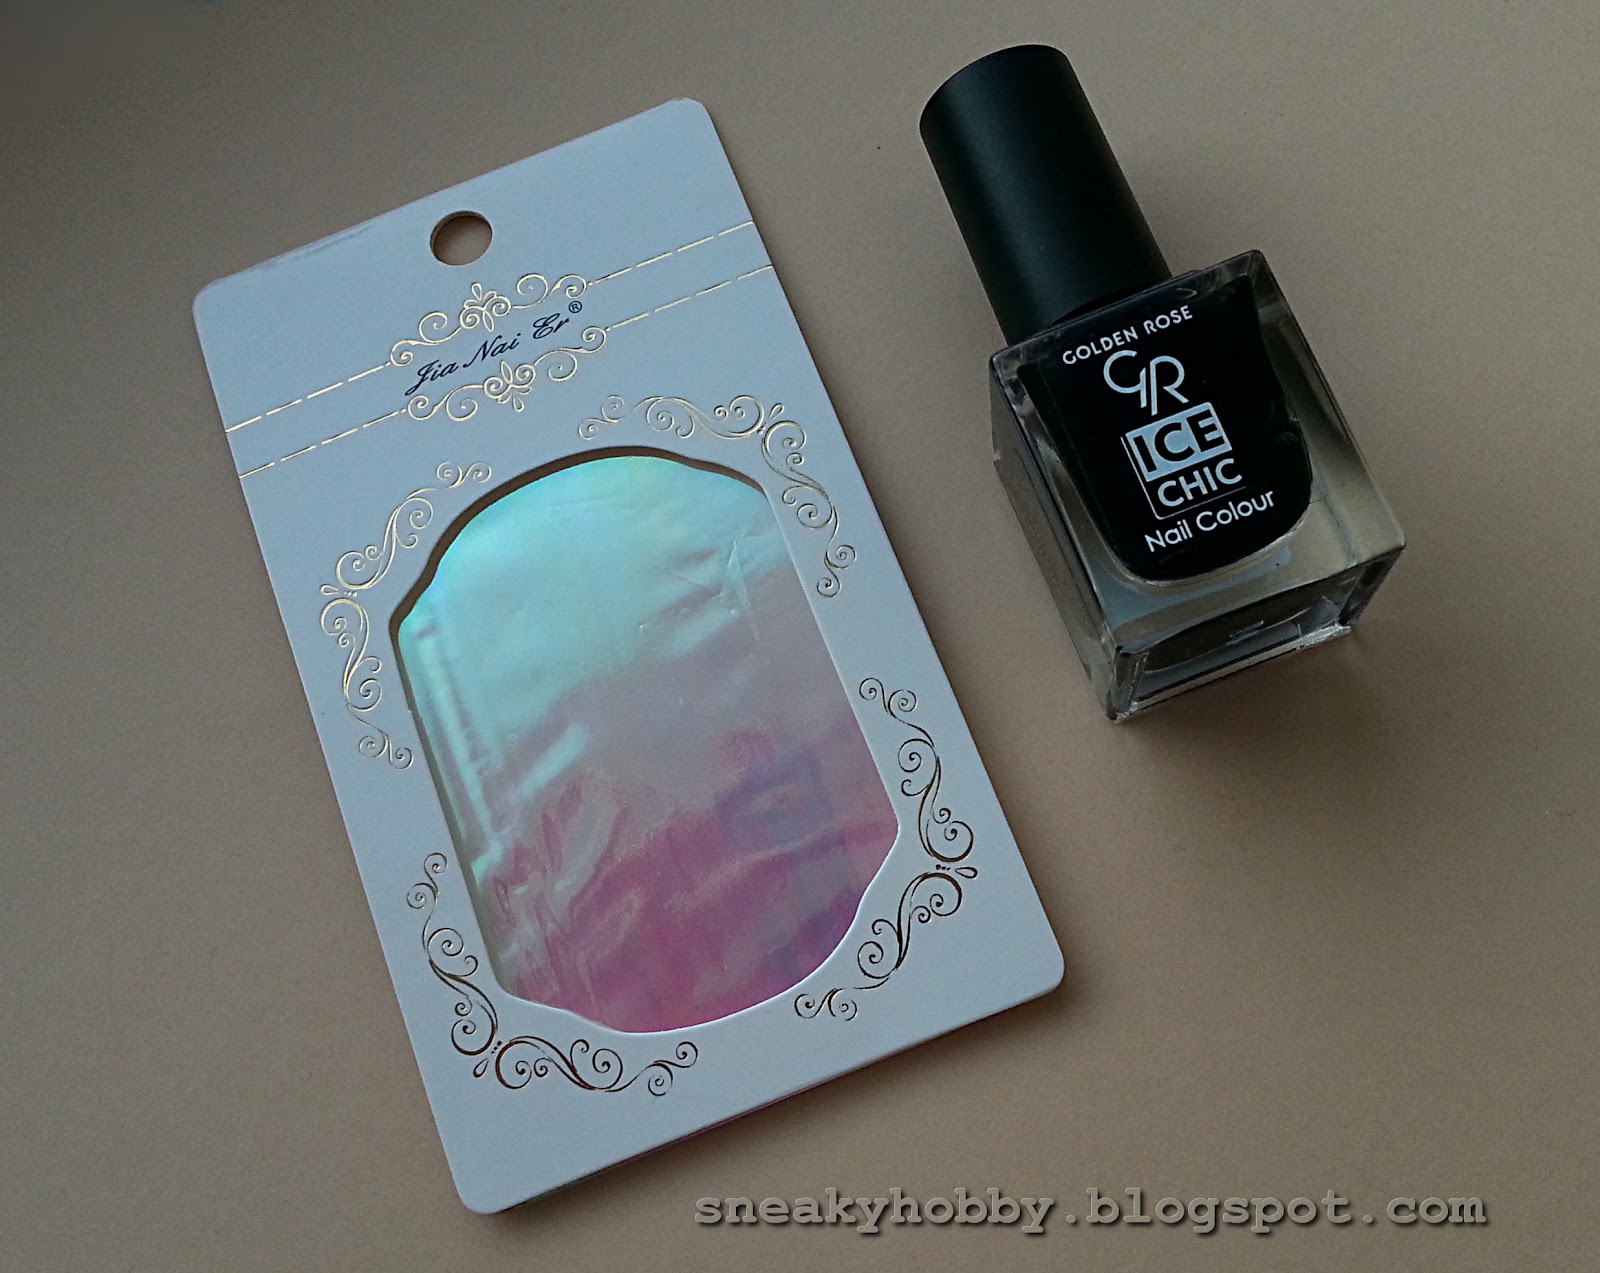
...i produkty jakich użyłam.

...and the products I used.


Jeśli jesteście zainteresowane TUTAJ i TUTAJ są moja dwa poprzednie zdobienia na #CREATIVENAILPARTY. Cały projekt jest organizowany przez The Cieniu i na jej stronce możecie zobaczyć wszystkie nadesłane mani.

If You're interested HERE and HERE are my two previous nail arts for the #CREATIVENAILPARTY. The whole project is organized by The Cieniu and on her site You can see all of the submitted manicures.


wtorek, 24 stycznia 2017

#CREATIVENAILPARTY - Tydzień 2 - Jelonki I Sarenki

#CREATIVENAILPARTY - Week 2 - Deer

Część Wam!
Dzisiaj mam nowe mani na projekt #CREATIVENAILPARTY organizowany przez The Cieniu. Moje ostatnie zgłoszenie było publikowane w ostatniej chwili, ale teraz miałam czas zrobić zdobienie zaraz na początku tygodnia. Tym razem tematem są jelenie, sarny i łosie.

Hi there!
Today I have a new manicure for #CREATIVENAILPARTY project organized by The Cieniu. My last entry was posted at the last minute, but now I had the time to do my nailart right at the beginning of the week. This time the theme are deers, roes and mooses.


Manicure jaki widzicie tutaj był moją pierwszą myślą kiedy przeczytałam temat na ten tydzień. Jestem w zasadzie w 100% usatysfakcjonowana tym jak to mani wyszło, a to zdarza się rzadko. Mam nadzieję, że spodoba Wam się tak samo bardzo ;)

The manicure You can see here was my thirst thought when I read the theme for this week. I'm actually 100% satisfied with how this manicure turned out and that rarely happens. I hope You'll like it just as much ;)


Bazą w tym mani jest po raz kolejny biel. Nałożyłam trzy warstwy lakieru Astor White Snow Manicure i formuła była ok, ale jestem za bardzo przyzwyczajona do mojego ulubionego białego. Lakier Safari jakiego zawsze używam jest już prawie na wykończeniu, stał się bardzo gęsty i glutowaty. Nie dałam rady nałożyć go w tym mani. Muszę koniecznie kupić więcej!

The base in this manicure is once again white. I applied three coats of Astor White Snow Manicure and the formula was ok, but I'm too used to my favourite white. The Safari polish I always use is almost all gone, it became really thick and goopy. I didn't manage to apply in this manicure. I desperately need to buy more!


Kiedy baza była gotowa zaczęłam tworzyć mój mglisty las. Najpierw odbiłam drzewa szarym lakierem do stempli (Born Pretty Store #444) i na nich, trochę niżej czarnym (Essence Stampy Polish Black). Obrazek z drzewami pochodzi z płytki Bundle Monster BM-S306.

When the base was ready I started creating my foggy forest. First I stamped the trees with a grey stamping polish (Born Pretty Store #444) and over them, a bit lover with black (Essence Stampy Polish Black). The tree image comes from Bundle Monster BM-S306 plate.


W tym momencie pokryłam moje paznokcie białym przezroczystym tintem DIY (1). Napisałam o nich wszystko w TYM poście. Dało to mojemu lasowi dużo głębi i sprawiło, że wygląda jak za mgłą. Nałożyłam również btokatowy top coat El Corazon 421/25 Large Hologram, żeby dać mojej scenerii trochę zimowej nuty.

At this point I covered my nail with a DIY white sheer tint (1). I wrote all about them in THIS post. This gave my forest a lot of depth and made it look a bit foggy. I also applied a glitter top coat El Corazon 421/25 Large Hologram, to give my scenery more of a winter vibe.


Najwyższy czas dodać najważniejszy element tego zdobienia - zwierzęta. Odbiłam jelenie i sarny na każdym paznokciu. Wzór pochodzi z płytki Lina 4 Seasons - Winter 01 i odstemplowałam go brązowym lakierem do stempli - Born Pretty Store #19. Dołożyłam też trochę czarnych drzew używając tej samej płytki i lakieru co poprzednio.

It was high time to add the most important part of this nailart - the animals. I stamped a deer or doe on each of my nail. The design come from Lina 4 Seasons - Winter 01 plate and I stamped them with a brown stamping polish - Born Pretty Store #19. I also added some black trees using the same plate and polish as before.


Poniżej sa płytki jakich użyłam..

Below are the plates I used..

Źródło: http://bundlemonster.com/
Źródło: http://linanailartsupplies.com/

..i produkty.

..and the products.


Jeśli chcieąłybyście przystąpić do projektu #CREATIVENAILART, jest jeszcze czas! Szczegóły możecie przeczytać TUTAJ.

If You'd like to join the #CREATIVENAILPARTY project, there's still time! You can find all the details HERE.


niedziela, 22 stycznia 2017

#CREATIVENAILPARTY - Tydzień 1 - Kolory Zimy

#CREATIVENAILPARTY - Week 1 - Winter Colors

Cześć!
Rzutem na taśmę zdecydowalam się dołączyć do #CREATIVENAILPARTY organizowanego przez The Cieniu. To zimowy projekt, który rozpoczął się 16ego stycznia i obejmuje 4 tematy, każdy trwa tydzień. Dla mnie pracując na pełen etat, to idealna ilośc czasu na przygotowanie czegoś specjalnego.

Hi!
At the last minute I decided to join the #CREATIVENAILPARTY organized by The Cieniu. It's a winter project that started on the 16th January and involves 4 themes, each one lasts a week. For me that's a perfect amount of time to prepare something special while working full time.


Jak widzicie pierwszy temat to Kolory zimy, a oto co ja stworzyłam. Wiem, że to pewnie najbardziej przewidywalny manicure ever - białe i niebieskie kolory plus śnieżynki :D Niemniej jednak mam nadzieję, że Wam się spodoba.

As You can see the first theme is Winter colors and here's what I created. I know it's probably the most predictable manicure ever - white and blue colours plus snowflakes :D Nonetheless I hope You'll like it.


Zaczęłam od nalożenia dwóch warstw mojego ulubionego, białego lakieru Safari 56. Żyby był bardziej śnieżny dodałam brokatową mgiełkę - Salon Perfect Cosmic Dust.

I stated by applying two coats of my favourite white polish Safari 56. To make it more snowy I added a glitter mist - Salon Perfect Cosmic Dust.


Wiekszość moich paznokci ma stemplowy wzorek na końcówkach żeby wyglądało to jak french manicure oraz pojedynczą śnieżynkę na środku. Ten wzorek "french tip" pochodzi z płytki MoYou London Kaleidoscope 12, a śnieżynka z płytki B. Loves Plates B.05 Let It Snow.

Most of my nails have a stamping design on the tips to make it look like a french manicure and a single snowflake in the middle. This "french tip" design comes from MoYou London Kaleidoscope 12 plate and the snowflake from B. Loves Plates B.05 Let It Snow plate.


Kiedy planowałam to mani chciałam zrobić wszystkie paznokcie takie same. Niestety wzorek jakiego użyłam do french'a był za wąski na mój kciuk. Zdecydowaąłm wtedy użyć całopaznokciowego obrazka ze śnieżynkami pasującymi do tych na pozostałych paznokciach na kciuku i serdecznym. Ten wzór także pochodzi z płytki B. Loves Plates B.05 Let It Snow.

When I was planning this manicure I wanted to make all my nails the same. Unfortunately the design I used as a french tip was to narrow for my thumb. I then decided to use a full nail image with snowflakes matching the ones on the other nails for my thumb and ring finger. This design also comes from B. Loves Plates B.05 Let It Snow plate.


Płyskujący niebieski lakier jakim odbijałam wzory to Colour Alike B. an Aurora. Użyłam Stempla B. Loves Plates Crystal Clear żeby idealnie rozmieścić wzory na paznokciach. Manicure jest zabezpieczony jedną warstwą top coat'u Kads i jedną warstwą INM Out The Door.

Tutaj są płytki jakich użyłam..

The shimmery blue nail polish I stamped the designs with is Colour Alike B. an Aurora. I used B. Loves Plates Crystal Clear Stamper to place the designs perfectly on my nails. The manicure is secured with one coat of Kads top coat and one coat of INM Out The Door.

Here are the plates I used..

Źródło: http://moyou.co.uk/


Źródło: http://allegro.pl/listing/user/listing.php?us_id=37818237&id=1429

..i większość pozostałych produktów.

..and most of the products.


Następne tematy w #CREATIVENAILPARTY to Jelonki i sarenki, Zimowy las oraz Skandynawskie wzory. Poniżej możecie zobaczyć baner po angielsku.

The next themes in #CREATIVENAILPARTY are Deer, Winter Forest and Scandinavian pattern. Below You can see the banner in English.


czwartek, 12 stycznia 2017

REVIEW: Born Pretty Store Holographic Nail Art Glass Foil

Hej!
Jakiś czas temu bardzo modne były w świecie paznokciowym mani z efektem tłuczonego szkła. Nie mialam okazji zrobić ich wtedy, ale teraz dostałam folię od BPS i w końcu zdecydowałam się wypróbować tą technikę.

Hey!
A while ago a big trend in the nail art world were shattered glass nails. I didn't have the opportunity to do them then, but now I got some foil from BPS and I finally decided to try this nail art technique out.


Powyżej możecie zobaczyć jak wygląda produkt. To arkusz transparentnej folii który ma różnokolorową poświatę, zmienia się w zależnoścpod jakim kątem patrzymy. Tek produkt występuje w wielu kolorach, Born Pretty Store oferuje 10, a ja wybrałam kolor #2. Arkusz ma około 35cm x 5cm (nie jestem w 100% pewna, bo już część zużyłam), możecie go znaleźć TUTAJ.

Above You can see how the product looks like. It's a sheet of translucent foil that has a sheen of various colours, it shifts depending on the angle we look from. This product comes in many shades, Born Pretty Store offers 10 and I choose the colour #2. The sheet is about 35cm x 5cm (I'm not 100% sure, because I already used some of it), You can find it HERE.


Look w jaki celowałam jest jedym z najpopularniejszych. Moim zdaniem folie najlepiej wyglądają na ciemnych lakierach. Zmiana koloru jest najbardziej widoczna, a efekt jest na prawdę magiczny.

The look I was aiming for is one of the most popular ones. In my opinion the foils look best on dark polishes. The colour shift is most visible and the effect is really magical.


Zaczęłam to mani od pocięcia folii na małe kawałki, w losowych kształtach, ale raczej ostrych (moje to głównie trójkąty). Następnie nałożyłam czarną bazę (dwie warstwy My Secret Dressed In Black) i zaczekałam żeby trochę wyschła. Musimy być w stanie przykleić kawałki folii do lakieru i nie zepsuć wszystkiego. Nałożyłam folię na dwóch paznokciach, a resztę zostawiłam czarną.

I started this manicure by cutting the foil in small pieces, randomly shaped, but rather sharp ones (mine are mostly triangles). After that I applied a black base (two coats of My Secret Dressed In Black) and waited for it to dry a bit. We need to be able to stick the foil parts to the nail polish and not mess up the whole thing. I applied the foil on two of my nails and left the rest black.


Jeśli zauważyłam, że jakieś rogi trójkątów się podnoszą, dodawałam kroplę przezroczystego lakieru i przy jego pomocy przyklejałam te części. Chcemy żeby wszystko było jak najbardziej płaskie. Folia jest raczej giętka i bardzo cienka, więc na moich paznokciach nie miałam problemu z przyklejeniem jej do powierzchni. Skończone zdobienie zostało zabezpieczone dwoma warstwami INM Out The Door.

If I saw some corners of the triangles rising, I added a drop of clear polish and stuck those parts of the foil with it. We want everything to be as flat as possible. The foil is rather flexible and very thin, so on my nails I didn't have problems with sticking it to the nail surface. The finished design was secured with two coats of INM Out The Door.


Mam nadzieję, że podoba Wam się ta prosta propozycja. Użyłam tylko dwóch produktów poniżej i top coat'u.

I hope You like this simple proposition. I used only the two products below and a top coat.

Jeśli interesują Was także inne produkty możecie użyć mojego kodu HMG10 żeby dostać 10% zniżki na wszystkie rzeczy w regularnej cenie.

If You're interested in other products as well You can use my HMG10 code to get 10% off all items in regular price.

czwartek, 5 stycznia 2017

Śnieżna Noc

Snowy Night

Cześć Wam :)
Pamiętacie TO zimowe mani jakie zrobiłam w zeszłym roku? Ja tak! Zobaczyłam w internecie zdobienie prawie identyczne do tego które na koniec stworzyłam i straaaasznie chciałam je odtworzyć. Niestety moje paznokcie był w bardzo złym stanie, ciągle się rozdwajały i łamały. Ostatecznie zdecydowałam się mimo wszystko zrobić to mani, ale nie byłam z niech w 100% zadowolona. Nie pamiętam żebym jakiekolwiek zdobienie tworzyła dwukrotnie, ale dla tego jednego musiałam zrobić wyjątek. Oto nowa wersja mojej śnieżnej nocy!

Hi there :)
Do You remember THIS winter manicure I made last year? I do! I saw a nail art almost identical to the one I ended up doing on the internet and wanted to recreate it soooo badly. Unfortunately my nails were in a very bad shape, chipping and breaking all the time. Eventually I decided to do this manicure any way, but I wasn't 100% satisfied with it. I don't remember doing any of my nail arts twice, but for this particular one I had to do an exception. Here's my new version of a snowy night!


Lakier bazowy to zwykła czerń. Użyłam Kiko 275 Black i nałożyłam dwie cienkie warstwy. Kiedy baza wyschła zaczęłam dodawać niebieski brokat małym pędzelkiem do zdobień. Nie chciałam żeby glitter za bardzo przykrył bazę, dlatego nie nakładałam go konwencjonalną metodą. Brokatowy lakier jakiego użyłam to Dewi L56.

The base polish here is a plain black. I used Kiko 275 Black and applied two thin coats. When the base was dry I started adding the blue glitter with a small nail art brush. I didn't want the glitter to cover the base too much, that's why I didn't apply it using the conventional method. The glitter polish I used is Dewi L56.


Na tym etapie zdecydowałam się wprowadzić malutką zmianę do mojego zdobienie w stosunku do wersji jaką stworzyłam w zeszłym roku. Użyłam innego wzoru śnieżynek ;) Tym razem obrazki pochodzą z płytek Blueberry 03 i Bundle Monster BM-S218. Odbiłam je lakierem Sally Hansen Insta Dri Silver Sweep i Stemplem B. Loves Plates Crystal Clear.

At this point I decided to make a tiny little change in the nail art opposed to the version I created last year. I used a different snowflake design ;) This time the images come from Blueberry 03 and Bundle Monster BM-S218 plate. I stamped them with Sally Hansen Insta Dri Silver Sweep and B. Loves Plates Crystal Clear Stamper.


Manicure był zabezpieczony Golden Rose Gel Look żeby uniknąć rozmazania i pokryty top coat'em Golden Rose Matte Top Coat. Użyłam też kropelek Inglot Dry & Shine żeby przyśpieszyć proces wysychania.

The manicure was secured with Golden Rose Gel Look to avoid smudging and covered with on coat of Golden Rose Matte Top Coat. I also used some Inglot Dry & Shine drops to speed the drying process.


Poniżej są płytki jakich użyłam użyłam w tym mani oraz pozostałe produkty..

Below are the plates I used in this manicure and the rest of the products..


poniedziałek, 2 stycznia 2017

Spóźnione Życzenia Noworoczne!!!

Late New Year's Wishes!!!

Jestem trochę spóźniona, ale chciałabym życzyć Wam wszystkiego najlepszego. Niech ten nowy rok 2017 będzie wypełniony szczęściem, ciepłem i radością. Oto manicure jaki zrobiłam na Nowy Rok.

I'm a bit late, but I'd like to wish You all the best. May this new year 2017 be filled with happiness, warmth, and cheer. Here's the manicure I did for New Year.


W tym roku postawiłam na czarną bazę i neony. Nałożyłam dwie warstwy My Secret Dressed In Black i zaczekałam aż całkiem wyschną.

This year I went for a black base and neons. I applied two coats of My Secret Dressed In Black and waited for them to fully dry.


Wzór jaki wybrałam pochodzi z płytki MoYou London Festive 05. Odbiłam go Stemplem B. Loves Plates Crystal Clear  żeby widziec dokładnie gdzie umieszczam wzór i dwoma neonowymi lakierami do stempli: Kaleidoscope 09 Yellow Neon, Kaleidoscope 71 Pink Neon. Jak widzicie oba te lakiery wyglądają świetnie na czerni. Są bardzo napigmentowane i jaskrawe.

The design I picked comes from MoYou London Festive 05 plate. I stamped it with B. Loves Plates Crystal Clear Stamper to see where exactly I'm placing the design and two neon stamping polishes: Kaleidoscope 09 Yellow Neon, Kaleidoscope 71 Pink Neon. As You can see both of these polishes look great over black. They're really pigmented and vibrant.


Zdobienie zabezpieczone było jedną warstwą top coat'u Kads i jedną warstwą INM Out The Door. Wzór jest nienaruszony, żadnych smug czy tym podobnych rzeczy.

The nail art was secured with one coat of Kads top coat and one coat of INM Out The Door. The design is intact, no smudges or anything like that.


Poniżej możecie zobaczyć płytkę jakiej użyłam..

Below You can see the plate I used..

Źródło: http://moyou.co.uk/

..i większość produktów.

..and most of the products.