Hej!
Słyszałyście, że wyzwanie #CREATIVENAILPARTY prowadzone przez The Cieniu właśnie znów się zaczęło?! Pamiętacie zimową edycję? Jeśli nie to TUTAJ jest link do moich mani. Tym razem tak jak poprzednio mamy cztery tematy, a każdy trwa tydzień. Tematy są jednak mniej sezonowe, więc jest większa dowolność. Myślę nawet, że będzie tu dla mnie okazja na przemycenie Halloween'owego zdobienia :D Na początek "Żółty", poniżej zaś możecie zobaczyć pozostałe tematy, jak również dokładne daty.
Hey!
Did You hear that #CREATIVENAILPARTY challenge hosted by The Cieniu just started again?! Do You remember the Winter edition? If not, HERE is the link to my manicures. This time just like before there's four themes and each one lasts a week. The themes are less seasonal though, so there's much more flexibility. I think there will even be a chance for me to sneak in a Halloween nail art :D We're starting with "Yellow" and below You can see what are the other themes, as well as the exact dates.

Na początek mam trochę blogowych spraw którymi chciałąbym się z Wami podzielić. Już od jakiegoś czasu przeszkadza mi fakt, że moje zdjęcia nie są zbyt estetyczne. Boli mnie wiedza, że nawet jeśli moje zdobienia są satysfakcjonujące to nie mam warunków ani sprzętu żeby Wam je pokazać w bardziej atrakcyjny sposób. Do tej pory fotografowałąm tylko w dzień, w bliskiej odległości od okna i to bardzo ograniczało moje możliwości stworzenia jakiejkolwiek scenki. Próbowałam naprawić ten problem przez kupno pary softbox'ów i profesjonalnego tła, jednak dalej nie zrobiło to aż takiej wielkiej różnicy. Wciąż robię zdjęcia smartfonem i to nie najnowszym. To główny powód dla którego nie jestem w stanie (i prawdopodobnie szybko nie będę) osiągnąć lepszego poziomu ostrości, upragnionego ostatnio tła typu bokeh oraz zamierających dech w piersi ujęć makro moich zdobień. Nie mniej jednak udało mi się przynajmniej odrobinę podnieść poziom ogólnej koncepcji fotografowania manicuru. Światło i ostrość (poprawiona tylko w programie) dalej są do kitu w większości przypadków, a tło to tylko sztuczny bokeh. Wyglądam też przy niektórych ujeciach jakbym uprawiałą jogę, ponieważ większość cześci mojego ciałą jest przed obiektywem telefonu a ja nachylam się do przodu próbując jednak zobaczyć co tak w zasadzie fotografuję, balansując między statywami softbox'ów (wyobraźcie to sobie przez chwilę, to musi być komiczny widok :D). Pomimo tego mam nadzieję, że zmiany są na lepsze i obiecuję postarać się z czasem poprawiać coraz więcej. Kupno porządnego aparatu jest moim priorytetem, tak żebym w przyszłości była bardziej dumna z moich zdjęć. Dajcie znać w komentarzach co myślicie, chętnie przyjmnę wszytskie rady w tym temacie.
First off all I have some blog related things I want to share with You. For some time now I've been bothered with the fact that my photos aren't very esthetic. It pains me to know that even if my nail art is satisfying, I don't have the conditions and equipment to show You it in a more appealing way. Till now I only photographed in daylight, in the vicinity of a window and that really narrowed down my possibilities of building any scene at all. I tried to fix this issue by buying a pair of softbox lights and a professional background, but it still doesn't make that big of a difference. I still take my photos with a smartphone and not a very hi-tech one. That's the main reason I'm not able (and probably won't be in the nearest future) to achieve a better level of focus, the desired lately bokeh background or stunning macro shots of my designs. However I did manage to upgrade the general concept of photographing a manicure at least a little bit. The lighting and focus (sharpened only with a computer program) still sucks most of the time and the background is just artificial bokeh. Also with some poses it almost looks like I'm doing joga, because most of my body parts are in front of the phone camera and I'm leaning forward trying to see what I'm actually photographing, balancing somewhere between the softbox tripods (just imagine that for a moment, it has to be a hilarious view :D). Nevertheless I hope the changes are for the better, I promise to do my best and improve more in time. Buying a decent camera is my priority, so I can be more proud of my pictures in the future. Let me know Your thoughts in the comments, I'll gladly take any advise in the matter.

Wróćmy teraz do manicuru, który tutaj mamy. Najważniejsz jest tutaj oczywiście neonowy żółty, ale sparowałąm go tutaj z kilkoma innymi żarówiastymi kolorami z kolekcji Colour Alike Neon Goes Pastel. Użyłam Yellow Flash (trzy warstwy) jako bazy pod moje stemple, a Hot Red (dwie warstwy) na resztę paznokci. Dołożyłam też warstwę toppera ILNP Alchemist na wszystkie paznokcie żeby dodać im trochę błysku (wyglądało to świetnie na żywo).
Now lets get back to the manicure at hand. The most important factor here is the neon yellow of course, but I pared it with some other bright colours from the Colour Alike Neon Goes Plastic collection. I used Yellow Flash (three coats) as the background for my stamping and Hot Red (two coats) for the rest of the nails. I also added one coat of ILNP Alchemist topper on all of my nails to give the an extra spark (it looks stunning in real life).

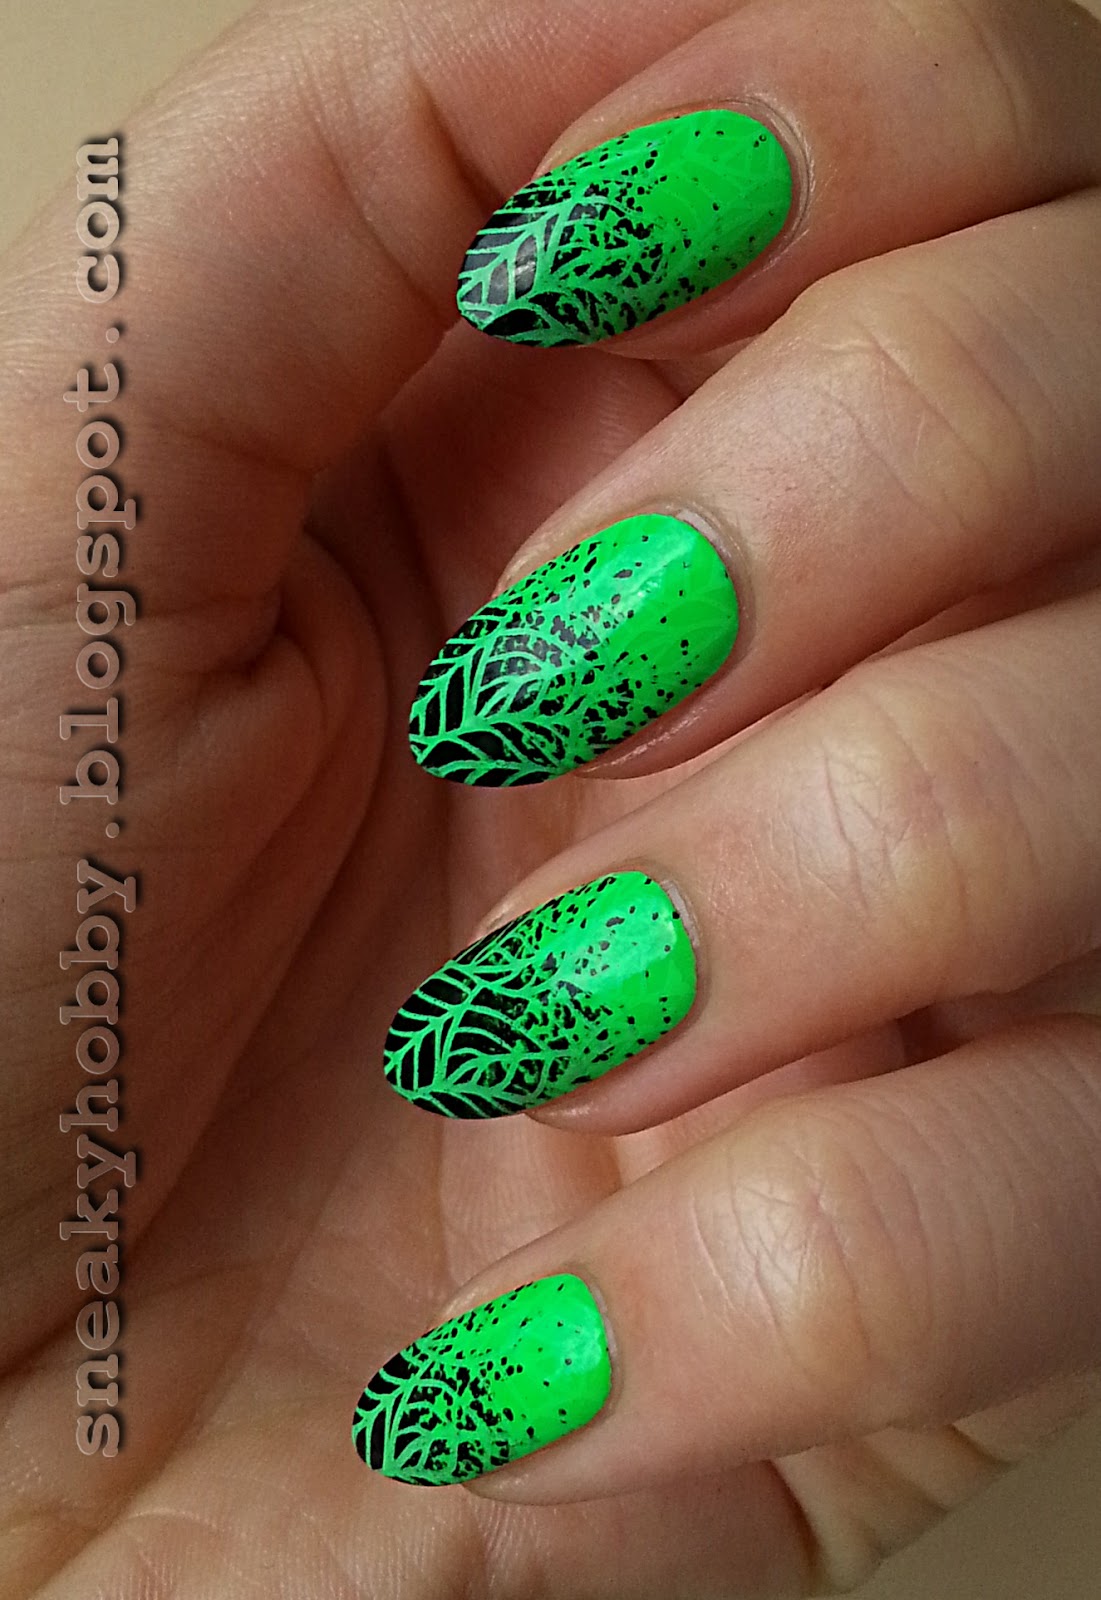
Zdobienie jakie możecie tutaj zobaczyć było zrobione przy użyciu techniki reverse stamping. Wzorek pochodzi z płytki B. Loves Plates B.08 Feather Fever, odbiłąm go lakierem Kaleidoscope by El Corazon 01 Black, a piórka pokolorowałam CA Hot Red, Electric Green i Neon Pink używając bardzo małego pędzelka. Na koniec zebzpieczyłam stemple top coat'e, Kads Smudge Resistant oraz pokryłam wszystkie paznokcie INM Out The Door.
The nail art You can see here was made using the reverse stamping technique. The design comes from B. Loves Plates B.08 Feather Fever plate, I stamped it with Kaleidoscope by El Corazon 01 Black and coloured the feathers with CA Hot Red, Electric Green and Neon Pink using a really small nail art brush. In the end I secured the stamping with Kads Smudge Resistant top coat and covered all of my nails with INM Out The Door.


Większość produktów jakich użyłąm przewija się gdzieś na zdjęciach, a poniżej możecie zobaczyć cudowną płytkę Feather Fever.
Most of the products I used are somewhere on the photos and below You can see the wonderful Feather Fever plate.
 |
| Źródło: http://blovesplates.com/ |
Jak Wam się podoba moje pierwsze zgłoszenie do #CREATIVENAILPARTY? Jesteście ciekawe co zrobię następnym razem?
How do You like my first entry for #CREATIVENAILPARTY? Are You curious what I'm going to come up with next?

Możecie śledzić wyzwanie na Instagramie oczywiście pod hashtagiem #CREATIVENAILPARTY oraz na koncie The Cieniu.
You can fallow the challenge on Instagram, of course under the hashtag #CREATIVENAILPARTY and on The Cienu account.